|
HARDWOOD FLIER This pine model solves balsa problem by CALDWELL JOHNSON
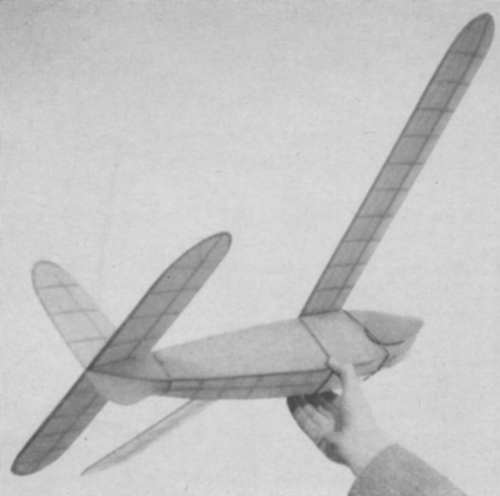
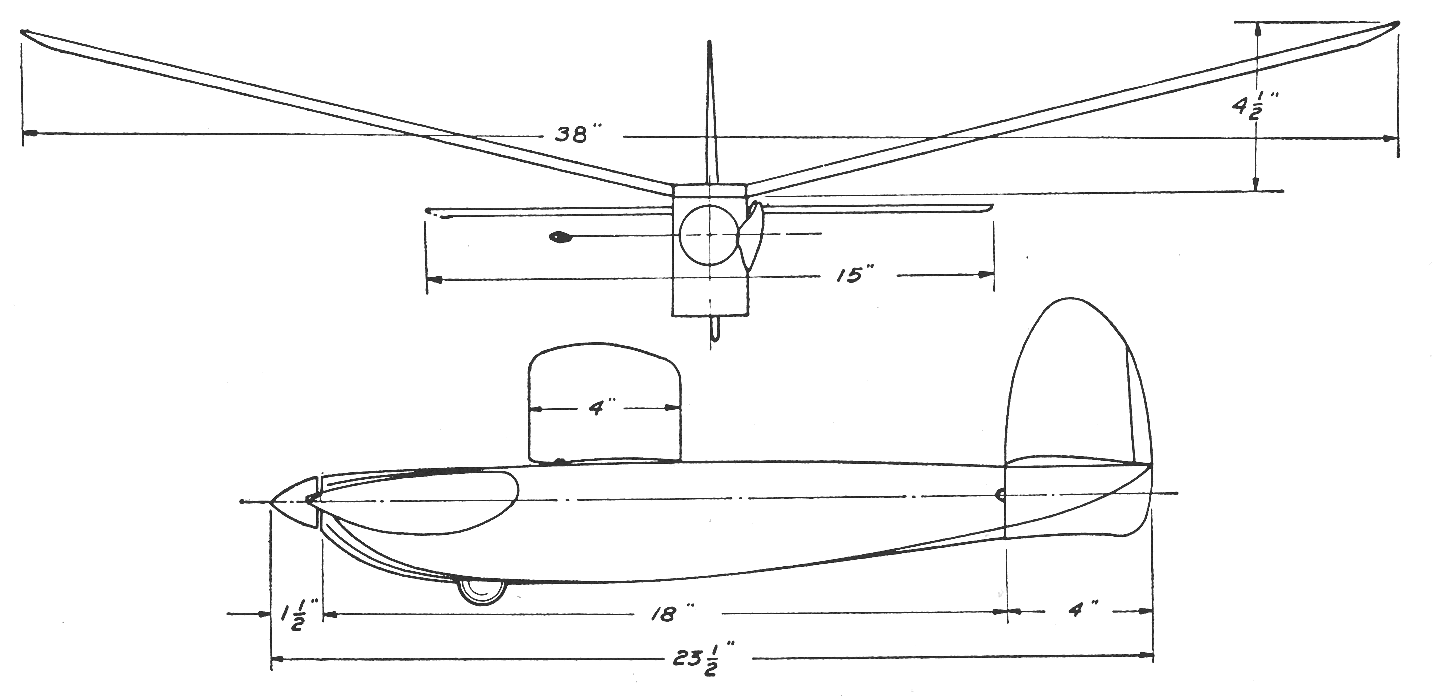
THE Rebel "2" was designed and built to take advantage of the present balsa shortage and availability of pine. The result of this venture into the hardwoods was as pleasant as our previous experience with balsa models. While it may prove more difficult to keep the weight down, pine models are, without doubt, much stronger than similar balsa jobs. Designing around double curved surfaces, solid fillets and cowls will enable almost any modeler to keep the finished weight to but little more than all-balsa construction. We believe that by replacing certain parts, formerly made of balsa, with pine (spars, stringers, leading edges, etc.) a stronger cheaper model and a saving of scarce balsa will result. CONSTRUCTION: By joining the plans at x-x full size outlines of fuselage, wing and tail tips, and fin are convenient to work with, after tracing the bulkhead formers and sheet parts on to the pine. Use generous cement fillets at the joints that are generally the highest stressed and avoid butt joints where possible. FUSELAGE: Lay down the fuselage sides over the plan, being sure there will be a right and left hand side when removed. Attach the plywood nose piece and formers. The crosspieces are added and when the cement has set attach the stringers and reinforcement at the tail. If the bottom stringers at the nose are too difficult to bend cut them from 1/16" sheet pine. Bind the landing gear hinge (.0625 I.D. tubing) to the lower stringers after forming the .0625 D. wire landing gear strut in the tube. Attach the retracting rubber and adjust the landing gear stop to allow the strut to fold back past the vertical so the model's weight will keep the landing gear from retracting. 1/16 x 1" D. plywood will serve as a wheel if a suitable bushing is used. Cover the completed fuselage frame with tissue. For extra resistance to tearing double tissue should be used on the underside of the nose. TAIL PIECE: Construct the tail piece much as was done the fuselage. Cut the lower fin from 1/16" sheet and cement in place. Form the hinges from about .020 steel wire and after lining up the tail piece with the fuselage cement the hinges in place so that the tail will fold upwards. After covering attach a short length of rubber from the lower fuselage longerons to upper members of tail piece so that when the tail is folded past vertical the rubber will hold it in place. PROPELLER AND NOSE PLUG: Don't let the rather drastic departure from conventional folding prop scare you. The blade will not flop forward in flight as you might first expect because of the high centrifical force compared to the thrust force. This type of folder will give a much smoother flight under power. (This type folder has no advantage when used on a two blade prop.) Carve the blade from pine, redwood or balsa and cement on the brass hinge fitting and bind with thread. The nose plug is cut from 1/16" plywood with brass bushings cemented to either side. Bend the rubber hook of the shaft and assemble with BB washer, tensioner spring and plain washers. Cut out the rear ring of the spinner from pine and slip over shaft end. Bend the two remaining angles in the shaft and bind on the counterbalance arm. Assemble with prop blade and fuselage. Cement wire stop to the rear of the nose block, after locating best folding position of blade (right side of fuselage). Add solder to obtain proper balance to counterbalance arm. Complete nose spinner. TAIL AND WING: Tail surfaces and wing are of conventional structure. Use full size outlines for tracing 1/16" tips. Ribs can best be cut out by tacking together rectangular pieces of 1/32" sheet with dope and sawing on band or jig saw. Cover all surfaces with tissue. FLYING: The power is supplied by 12 strands of 3/16" rubber fastened to and wound from rear dowel by folding the tail assembly. Adjust for a flat and slight left turn glide. Wind a few turns and adjust by shimming nose block until model turns right under power. For full power flights launch slightly left of the wind and be prepared for a chase. Aside from torn covering little damage is ever done to these pine jobs. VICTORY
Scanned from December 1943 |


