|
KIWI BY LARRY EISINGERAlthough "Kiwi" is a nickname for beginner, you'll
discover this
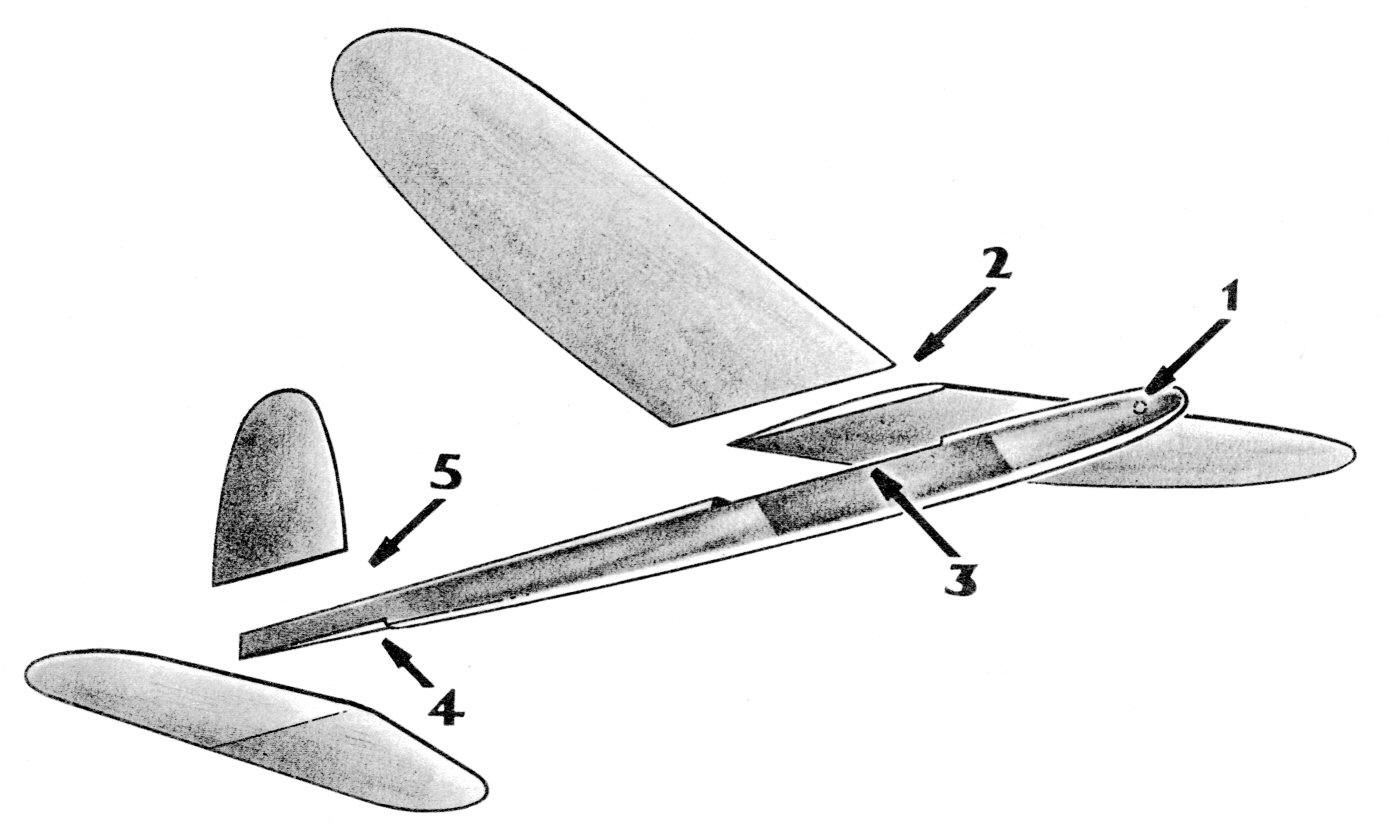
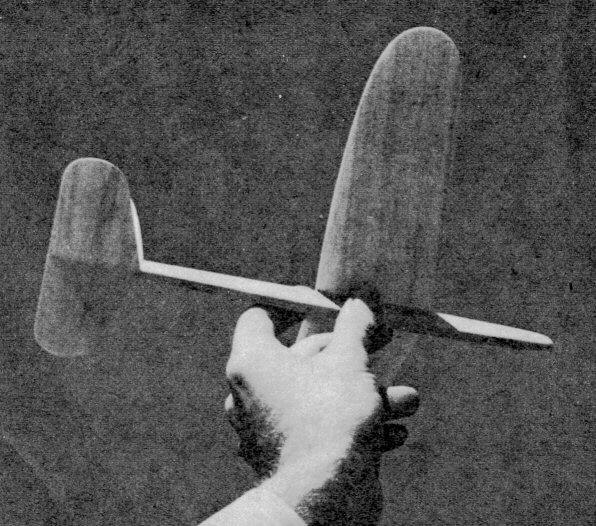
The simplest way for the novice to learn important lessons in construction, design, proportions and flight adjustments is to build an elementary glider. Such simplified design does not sacrifice performance, either, for many of these gliders have flown away from hand-launched starts. From a straight-grained piece of hard balsa, cut the fuselage outline. Taper it at the rear as shown, rounding the nose and corners. Check the angles and sizes of the wing and stabilizer notches. Sand the fuselage and dope it lightly. All other parts are cut from uniformly, soft balsa. After being cut to outline, tail surfaces may be finished with a sandpaper block, using a fine grade of sandpaper. Taper them toward the tips, sanding the trailing edges somewhat thinner than the leading edges. Dope these parts and finish by sanding lightly. Cut the two wing halves to proper outline. Now we come to the most important step in building the entire glider -- shaping the wing section. Study the section on the plan, and begin by trimming the trailing edge with a sharp penknife. Long, thin slivers can be easily trimmed from such soft wood, permitting accurate shaping. Using the sandpaper block again, the wings are smoothed to final shape and the dihedral angles are beveled as shown. Dope the wings; follow with light sanding. Here are the simple steps in assembling the glider: 1, Install B-B shot in the nose for weight ; 2, Join wing halves at proper dihedral, using cement liberally. 3, Cement wing into fuselage notch: 4, Cement stabilizer to fuselage; and 5, Attach rudder. Check alignment of all parts. The glider should balance at a point about one-third of the wing chord from the leading edge. Add Illo modeling clay to the nose if the model is tail heavy. Make first glides from shoulder height, tossing the glider gently with wings level and nose slightly depressed Adjust the weight in the nose until a smooth glide is attained. Slightly warping the rudder will give gentle turn as desired. Experts’ methods vary, but one way of getting long flight, is as follows: With the glider adjusted for left turns, it is launched at high speed with the right wing down. Its normal left turn adjustment causes the model to slowly recover from its starting position, resulting in a zoom with the model completely recovering at the top of the zoom. Some modelers prefer to launch the glider with the index finger held against the wing trailing edge. Others simply grasp the fuselage firmly between the thumb and index finger. The actual heave is similar to a pitcher's sidearm delivery. The point is to make the glider level out at the top of its launch, retaining all possible altitude. When you've completely mastered the construction and flying of simple gliders you’ll find the construction of more advanced models easy. Scanned From 1942
|