|
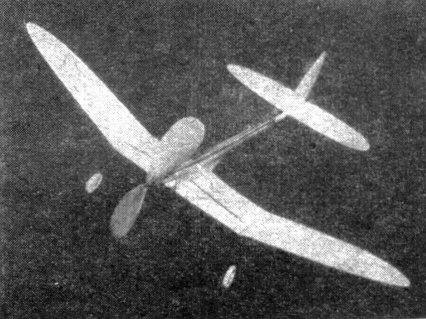
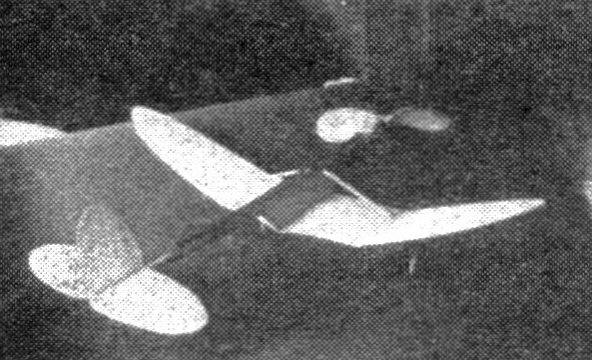
Another Garami Cloud-Buster! And here is the Dihedral Dandy, the latest creation of the prolific Louis Garami, and it's a dandy little ship if we've ever seen one. Furthermore, its designer informs us that this model hasn't the old familiar tendency of low wing jobs to stall while flying under power. So you can turn it loose under full gun without fear of a crack-up after that first test hop .Make the Dihedral Dandy By Louis Garami
AS low-wing airplanes are getting more and more popular, it is timely to familiarize our stick fans with this type of model. Simple to build, rugged in construction, this all balsa ship resembles a modern transport plane. Although it is the general belief that low-wing planes are inherently unstable, this Dihedral Dandy has several important advantages, one of which is the reduced stalling tendency while flying under power. This means that the model can be "jazzed up" and flown without scaring the builder with two or three lightning-fast loops. STICK AND TAIL SURFACES TRACE and cut the stick blank out of 3/16" soft sheet balsa. Sandpaper the same to the streamlined shape shown on the plans and taper it toward the rear in order to reduce the weight in the tail as much as possible. The next move is to drill the hole and insert the aluminum tubing and washer in the nose. Plenty of cement should be used around this spot to strengthen the wood. Bend the rear hook, using .028 piano wire, and glue it in place. While it is drying, cut the tail surfaces out of 1/32" sheet balsa. Select good grade of light balsa for these, one which can be bent very easily without cracking. Proceed to glue the tail surfaces on the stick lining them up carefully with model pins. Do not use much glue here for it tends to warp the thin wood. WING AND LANDING GEAR THE wing is constructed of three pieces, instead of the usual two. The large center section and the two tips are traced and cut out of 1/32" sheet balsa. At the joining point there are two 1/8" thick ribs which serve to reinforce this spot and at the same time give the desired camber. When joining the three sections use plenty of pins and make sure that the dihedral angle is the same on both sides. The tips should be raised 2 inches. Next the wingholder is shaped out of 1/16" sheet balsa. It has to fit the bottom of the body and the top of the wing fairly well in order to give a good strong joint when it is glued. Prepare the two wing struts (1/8" sq.) and cement them on right after the wingholder has been put in place, in order that you may line up the wing and the tail without difficulty. Use .034 piano wire for landing gear struts. You can easily reconstruct the shape in which the wires are bent from the side and front views. They are fastened to the top of the wings above the ribs, come straight down, then are bent out at right angles to the body to form the axles. Be careful when you bend the wires, to make them the same length, otherwise the model will slant to one side. If you make a good glue joint with the wing, the usual landing gear troubles will be eliminated. Two 1" hardwood wheels are used on the axles and the wire is bent back to prevent the wheels from coming off. PROPELLER CUT the propeller blank out of medium balsa and drill the center hole before carving, as it is easier to line up the prop this way. A large copper washer is glued to the inside to protect the hub. When the prop shaft is bent, assemble the whole power plant, using four strands of 1/8" rubber for motive power. Wind her up a few times and see if the propeller runs true. If it wobbles when rotating, straighten the shaft by bending it slightly. A drop of oil on the bearing will also eliminate those "concrete mixer" noises. FLYING SINCE the model is very light, the initial adjustment can be made indoors. Bend the flippers up or down until she glides perfectly. Then take her outside and wind her up. If she will not climb enough with this adjustment, just warp the elevators up a little and watch her roar away. And now as a parting shot, modelers, how about getting out the old camera and knocking off a few photos of your completed Dihedral Dandy? Shoot us the best view you get for use in our With the Model Builders' page. We need more pictures of stick jobs in that department. Scanned From April 1937 |

